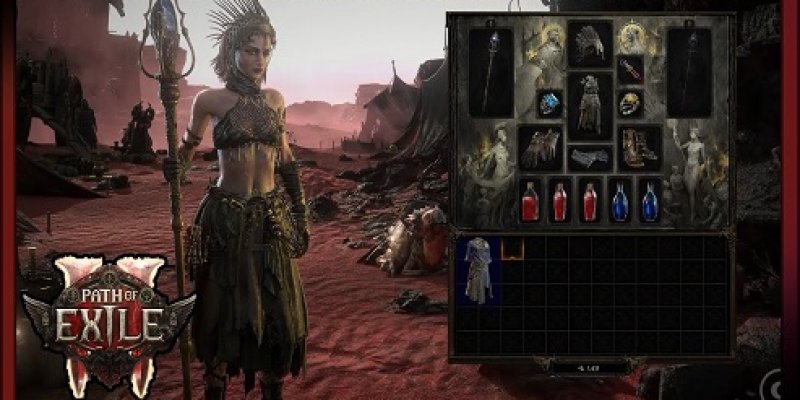
You don't play this Martial Artist setup by holding one skill and hoping the screen clears. The rhythm matters. Flicker Strike carries you between packs, Falling Thunder handles targets that need a firmer answer, and the Herald skills turn nearby deaths into further damage. Power Charges keep the whole thing moving, so they're worth fixing before you pour POE 2 Currency into flashy upgrades. If the charge loop feels unreliable, expensive damage gear won't solve the awkward pauses. Get the engine running first. Once Whirling Assault, Mantra of Destruction, Charged Staff, and your corpse-based charge tools begin working together, the build stops feeling like a collection of separate skills. It starts to flow. You build Combo, refill charges, switch on Charged Staff, and tear through the next group before the Herald effects have finished clearing the last one.
Flicker Strike Sets the Pace
Flicker Strike is the mapping tool, not the entire damage plan. That difference changes how you gear and how you approach tougher encounters. Supports such as Hit and Run, Close Combat, Concentrated Area, Rakiata's Flow, and Rigwald's Ferocity help the skill deliver quick close-range hits while it moves you through a pack. You'll soon notice that its real value is cutting out travel time. There's no need to walk toward every target when the skill can place you there at once. The danger is obvious, though. Flicker Strike chooses aggression for you, and sometimes it drops your character beside a heavy attack or a nasty ground effect. Don't force another chain when the screen looks unsafe. Step away and use Falling Thunder instead. With Elemental Armament, Culmination II, Ricochet, Nova Projectiles, and Rapid Attacks, Falling Thunder gives you wide lightning coverage without demanding that you stay directly beside the target. It's also the steadier option for dangerous rares and boss phases.
Keeping Power Charges Ready
Most rough moments come from poor Power Charge control. Flicker Strike consumes them quickly, and an empty charge pool turns a smooth map into a stop-start mess. Whirling Assault is the easiest way to begin the cycle because it builds Combo at a good pace. Once the required threshold is reached, Mantra of Destruction converts that work into Power Charges. Delayed Gratification, Ailith's Chimes, and Charge Profusion II support the process and give the rotation more breathing room. Reaper's Invocation offers another route during mapping. Flicker Strike supplies energy, Profane Ritual consumes corpses, and those corpses become fresh charges. It works well in crowded areas because defeated enemies are everywhere. Before committing to a long teleport sequence, check your charges and activate Charged Staff. Players often rush this part, spend everything at once, then wonder why the build suddenly feels slow. A short setup is quicker than rebuilding the whole cycle in the middle of a dangerous pack.
Herald Damage and Defensive Choices
Herald of Thunder and Herald of Ice do more than add pretty effects. They help one kill spread through an entire group. Herald of Ice supplies much of the pack-clearing burst, while Polcirkeln lets chilled enemies shatter as if they were frozen. Stun investment adds another layer to these reactions. Herald of Thunder supports the lightning side of the setup, which becomes more important as enemy health rises. In heavily populated, high-pressure maps, scaling lightning damage tends to give better results than pushing cold damage too far. Defence needs equal attention. Energy Shield suits the setup, but Flicker Strike can place you where no cautious player would willingly stand. Prioritise a healthy shield pool, faster recovery, useful resistances, and enough stun control to prevent enemies from answering every hit. Critical Strike Chance and critical scaling are worthwhile after the basics feel stable. If you're dying several times per map, another damage jewel probably isn't the answer. Fix recovery and durability first, then return to offence.
Final Thoughts
This build feels best when every skill has a clear job. Whirling Assault builds Combo. Mantra of Destruction turns that Combo into Power Charges. Charged Staff strengthens the attack sequence, Flicker Strike removes the distance between packs, and Falling Thunder gives you a safer burst option when staying close would be reckless. The Heralds clean up what survives and can carry one kill across a crowded screen. Gear progression should follow the same practical order. Secure dependable charges, improve Energy Shield, add lightning and elemental attack damage, then invest in critical scaling, jewels, and specialised equipment. You don't need the premium version on day one. When comparing cheap POE2 Items , choose pieces that fix a real weakness rather than those with the loudest damage figure. With sensible upgrades and a little restraint around dangerous boss attacks, the Martial Artist becomes a rapid mapper that still has controlled damage for serious endgame fights.